A flat tire can strike at the worst moment whether you’re rushing to work or driving down a quiet road. Knowing how to remove and replace a flat tire quickly and safely gets you back on the road without stress or costly delays. This guide breaks down the fastest, simplest steps to change a tire, using tools most drivers already have. We’ll cover practical tips, safety measures, and ways to avoid common pitfalls, all in clear, easy-to-read language that anyone can follow. By the end, you’ll have the confidence to handle a flat tire in under 20 minutes and tips to prevent future flats, saving you time and hassle.
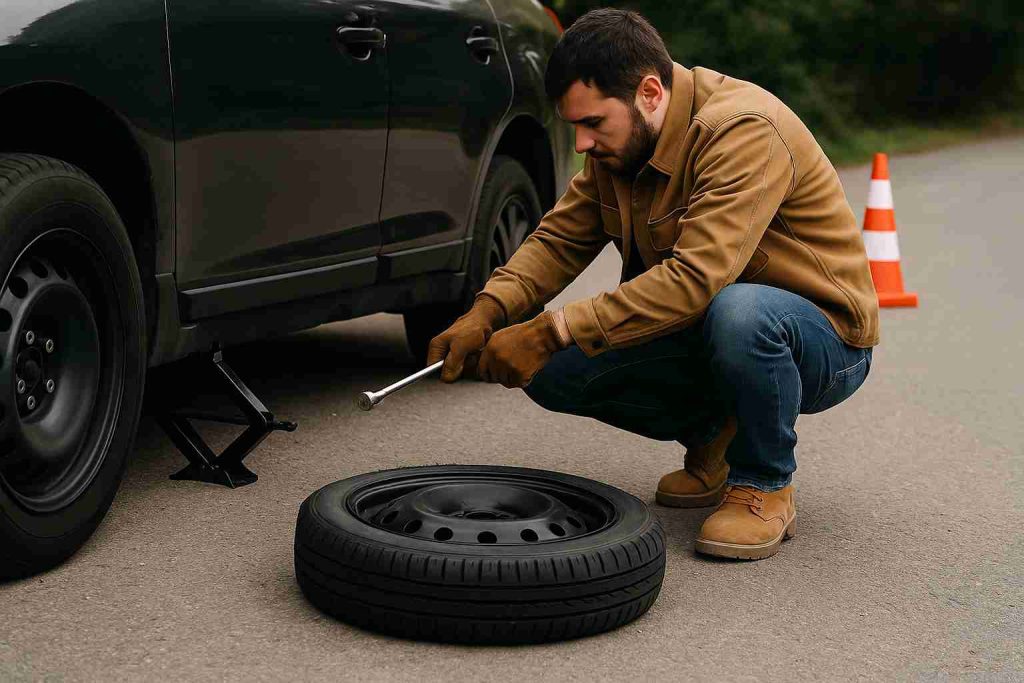
Table of Contents
Why Changing a Flat Tire Yourself Saves the Day
A flat tire can feel like a major roadblock, but fixing it yourself is faster and cheaper than waiting for a tow truck or roadside help. With the right steps, you can be back on the road in minutes, avoid expensive service fees, and gain a valuable skill. This guide walks you through the process, focusing on quick solutions and safety to ensure you’re prepared for any flat tire situation. Whether you’re a new driver or just need a refresher, these steps will help you tackle the problem with ease.
Step-by-Step Guide to Changing a Flat Tire Fast
Step 1: Pull Over to a Safe Spot
The moment you notice a flat tire, find a safe place to stop. A flat, stable surface away from traffic—like a parking lot or wide shoulder is ideal. Avoid busy roads or uneven ground.
- Turn on hazard lights: Alerts other drivers to your position.
- Set up warning triangles or flares: If you have them, place them behind your car for visibility.
- Avoid slopes or soft ground: These make the car unstable and slow you down.
Why it helps: A safe spot reduces risks and lets you focus on changing the tire quickly.
Step 2: Gather Your Tools
You’ll need a few basic tools to change a tire efficiently. Most cars include these in a trunk compartment, but it’s wise to check beforehand. Here’s what you need:
- Spare tire: Often a temporary “donut” tire, stored in the trunk.
- Jack: Lifts the car off the ground.
- Lug wrench: Loosens and tightens lug nuts.
- Wheel chocks or heavy objects: Prevents the car from rolling.
- Gloves and a rag: Keeps your hands clean.
- Optional: A tire pressure gauge to check the spare.
Pro tip: Store these tools in an easy-to-reach spot in your car. A compact emergency kit is a great backup if your car lacks these.
Why it helps: Having tools ready saves time and prevents frustration.
Step 3: Secure the Car
Before lifting the car, ensure it won’t move. A rolling car is dangerous and slows you down.
- Apply the parking brake: Locks the wheels in place.
- Place wheel chocks or heavy objects: Put them in front of and behind the tires not being changed.
- Turn off the engine: Keeps the car still.
Why it helps: A stable car makes the process faster and safer.
Step 4: Loosen the Lug Nuts
Loosen the lug nuts before lifting the car, while the tire is still on the ground. This keeps the wheel from spinning.
- Use the lug wrench to turn lug nuts counterclockwise.
- If they’re tight, apply steady pressure or step on the wrench for leverage.
- Loosen each nut about one full turn, but don’t remove them yet.
Why it helps: Loosening nuts first saves effort since the car’s weight holds the wheel steady.

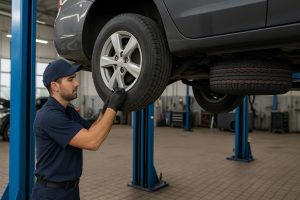
Step 5: Lift the Car with the Jack
Check your car’s manual for the correct jacking points usually near the flat tire, marked by a notch or reinforced area on the frame.
- Place the jack under the jacking point closest to the flat tire.
- Crank the jack to lift the car until the tire is about 6 inches off the ground.
- Ensure the jack is stable before continuing.
Why it helps: Using the right jacking point prevents car damage and keeps the jack secure, speeding things up.
Step 6: Remove the Flat Tire
With the car lifted, unscrew the lug nuts by hand and place them in a safe spot, like a pocket or container, to avoid losing them. Gently pull the flat tire off the wheel studs and lay it flat on the ground.
Why it helps: Keeping lug nuts organized saves time when mounting the spare.
Step 7: Mount the Spare Tire
Align the spare tire’s holes with the wheel studs. Push the tire onto the studs until it’s flush against the hub. Hand-tighten the lug nuts to secure it.
Why it helps: Proper alignment ensures the tire is secure, avoiding issues later.
Step 8: Lower the Car and Tighten Lug Nuts
Lower the car by turning the jack’s handle in the opposite direction. Once the tire touches the ground, remove the jack. Tighten the lug nuts with the lug wrench in a star pattern (tighten one, then the opposite, and so on) for even pressure.
Why it helps: Proper tightening keeps the wheel secure, preventing problems on the road.
Step 9: Check the Spare Tire’s Pressure
If you have a tire pressure gauge, check the spare’s pressure against the recommended level in your car’s manual or on the tire. If it’s low, drive carefully to a gas station to inflate it.
Why it helps: A properly inflated spare ensures safe driving and protects the wheel.
Step 10: Clean Up and Drive Cautiously
Store the flat tire, jack, and tools in your trunk. Ensure everything is secure. Since spare tires are often temporary, drive at reduced speeds (under 50 mph) and visit a tire shop soon to repair or replace the flat.
Why it helps: Quick cleanup and careful driving get you back on the road safely.
Mistakes That Slow You Down
Avoid these common errors to keep the tire-changing process fast and safe:
- Lifting the car before loosening lug nuts: The wheel spins in the air, wasting time.
- Using the wrong jacking point: Risks damaging the car or destabilizing the jack.
- Not checking spare tire pressure: A flat spare won’t help you.
- Forgetting the parking brake: Risks the car rolling, which is dangerous.
Why it helps: Dodging these mistakes saves time and prevents accidents.
How to Prevent Flat Tires
Nobody wants to deal with flats regularly. These simple habits can reduce your chances of getting another:
- Check tire pressure monthly: Use a gauge to match the recommended level in your car’s manual or driver’s door jamb.
- Inspect tires for wear: Look for uneven tread or small punctures.
- Avoid road hazards: Steer clear of potholes, sharp objects, or curbs.
- Rotate tires regularly: Promotes even wear and extends tire life.
Why it helps: Prevention keeps you on the road longer, avoiding the hassle of flats.
Common Questions About Flat Tires
Here are answers to frequent concerns about changing a flat tire:
- How long does it take? About 15-20 minutes with practice; first-timers may need 30 minutes.
- How far can I drive on a spare? Most spares are good for 50-100 miles at low speeds (under 50 mph). Check your manual.
- What if I don’t have a spare? Some cars have a tire repair kit. Follow its instructions or call for help.
- How much does it cost to fix a flat? Repairs cost $20-$50; new tires range from $50-$200.
Why it helps: These answers prepare you for common scenarios, reducing stress.
Why This Skill Boosts Your Confidence
Changing a flat tire quickly does more than solve an immediate problem—it gives you independence and peace of mind. You’ll save money by skipping tow trucks or pricey roadside services. You’ll also feel ready to handle car troubles anywhere, anytime. Plus, you can share this skill with family or friends, helping them stay safe too.
By mastering these steps, you’re not just fixing a tire—you’re gaining a practical, money-saving ability that lasts a lifetime. Whether you’re dealing with a flat on a busy highway or a quiet street, this guide equips you to handle it efficiently.
Conclusion
A flat tire doesn’t have to stop you in your tracks. With these clear, step-by-step instructions, you can remove and replace a tire in under 20 minutes, even if it’s your first time. From finding a safe spot to checking your spare’s pressure, each step is designed to be quick, safe, and straightforward. Plus, with tips to avoid mistakes and prevent future flats, you’re ready for anything the road throws your way.
Keep this guide handy—save it on your phone or print it for your glovebox. Next time a flat tire hits, you’ll be back on the road fast, with the confidence of a job well done.
FAQs
How do I change a flat tire quickly and safely?
Stop in a safe place, use your jack and wrench to lift the car, remove the flat tire, install the spare, and tighten the lug nuts in a star pattern.
What’s the fastest way to fix a flat tire at home?
Park safely, use wheel chocks, loosen lug nuts, jack up the car, swap the tire, and tighten nuts evenly. Check the spare’s pressure before driving off.
How long should it take to change a flat tire?
With some practice, you can change a flat tire in about 15–20 minutes. If you’re new to it, plan for up to 30 minutes, especially if tools aren’t ready.
How far can I drive on a donut spare tire?
A donut spare tire is made for short trips—usually up to 50 miles—and should not go over 50 mph. Drive carefully and replace it with a full-size tire as soon as possible.
What tools do I need to replace a flat tire?
You’ll need a jack, lug wrench, spare tire, and wheel chocks. Gloves and a flashlight help too. Check that your tools are in your car and easy to reach before trouble happens.
What should I do if I get a flat tire with no spare?
If you don’t have a spare, use your tire repair kit if available. If not, call roadside assistance or a tow truck to avoid damage or being stuck.
Can I change a flat tire on the side of the highway?
Only if it’s safe—pull off far from traffic, use hazard lights, and place warning triangles. If you feel unsafe, it’s better to call for help.
How do I prevent getting a flat tire again?
Check tire pressure monthly, avoid potholes, rotate your tires, and look for nails or cracks often. Good habits help prevent future flat tires.